在linux系统下搭建mongodb分片集群
1、 关闭防火墙
查看防火墙状态systemctl status firfewalld
关闭防火墙 systemctl stop firfewalld systemctl disable firewall

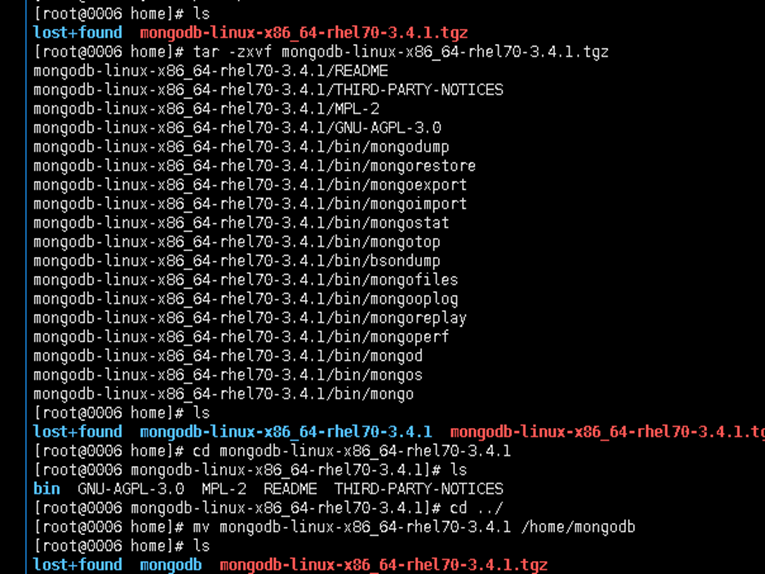
2、 拷贝安装包,然后解压,在建立mongodb文件夹,移动解压出的文件内容到mongodb
授权 chmod -R 775 mongodb
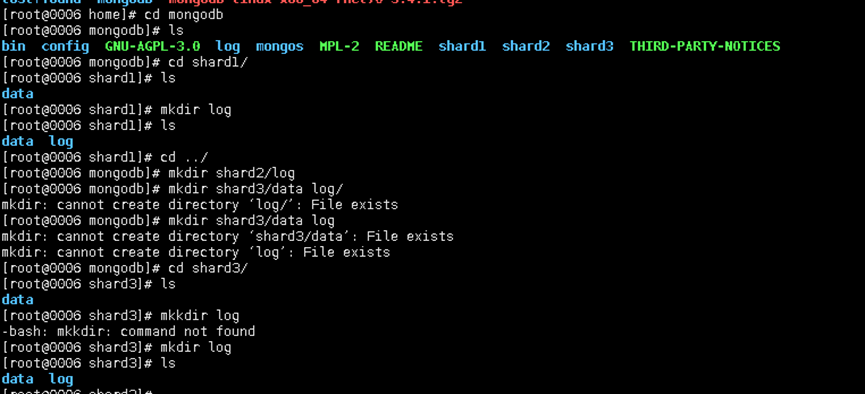
3、 分别在每台机器建立config、mongos、shard1、shard2、shard3六个目录,因为mongos不存储数据,只需要建立日志文件目录即可。
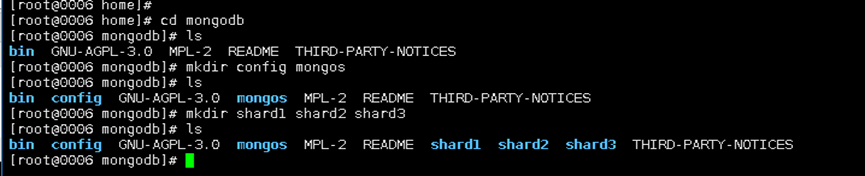
在config中建立data与log 在mongos建立log在shard 1 shard 2 shard 3 建立log data 文件夹
在config中建立文件config.conf
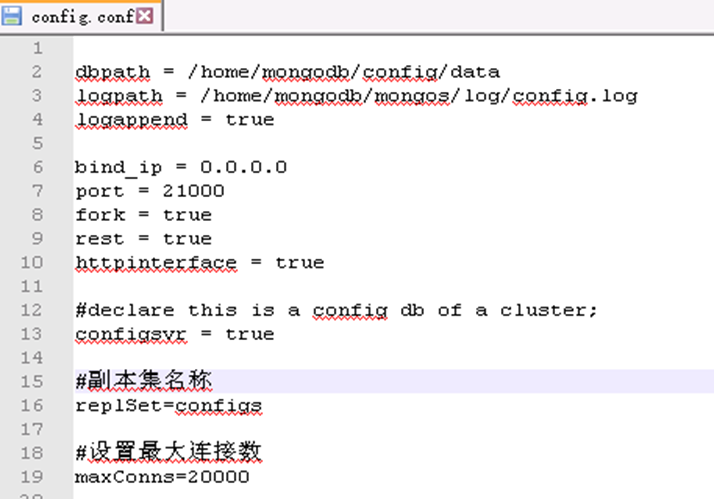
dbpath = /home/mongodb/config/data
logpath = /home/mongodb/mongos/log/config.log
logappend = true
bind_ip = 0.0.0.0
port = 21000
fork = true
rest = true
httpinterface = true
#declare this is a config db of a cluster;
configsvr = true
#副本集名称
replSet=configs
#设置最大连接数
maxConns=20000
建立文件
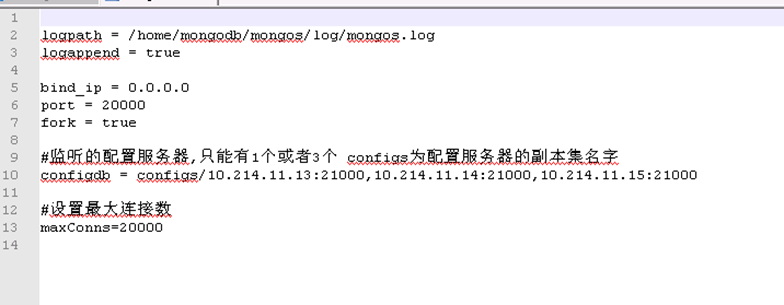
mongos.conf
logpath = /home/mongodb/mongos/log/mongos.log
logappend = true
bind_ip = 0.0.0.0
port = 20000
fork = true
#监听的配置服务器,只能有1个或者3个 configs为配置服务器的副本集名字
configdb = configs/10.214.11.13:21000,10.214.11.14:21000,10.214.11.15:21000
#设置最大连接数
maxConns=20000
4、 分别在shard1 shard2 shard3中分别建立config.conf
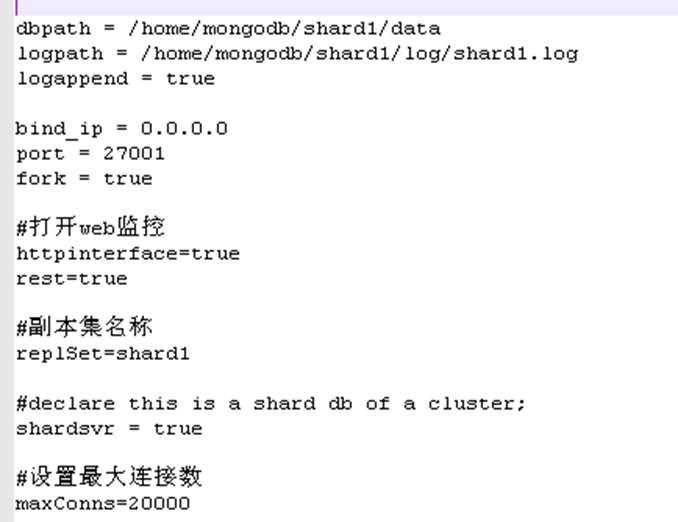
dbpath = /home/mongodb/shard1/data
logpath = /home/mongodb/shard1/log/shard1.log
logappend = true
bind_ip = 0.0.0.0
port = 27001
fork = true
#打开web监控
httpinterface=true
rest=true
#副本集名称
replSet=shard1
#declare this is a shard db of a cluster;
shardsvr = true
#设置最大连接数
maxConns=20000
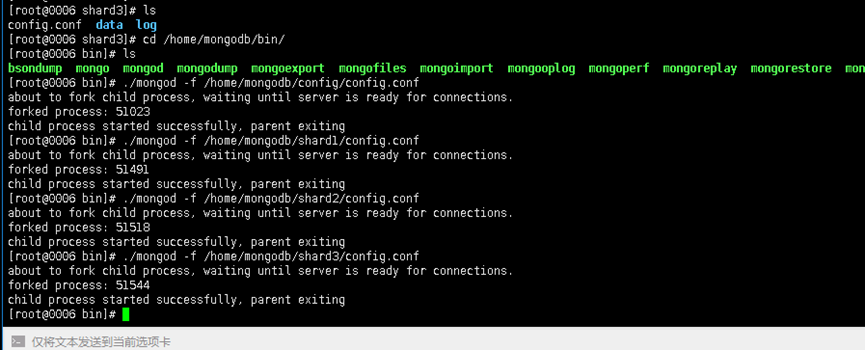
5、 配置完成以后,启动三台服务器的config server
跳转在bin文件夹下执行 ./mongod -f /home/mongodb/config/config.conf

登录任意一台配置服务器,初始化配置副本集
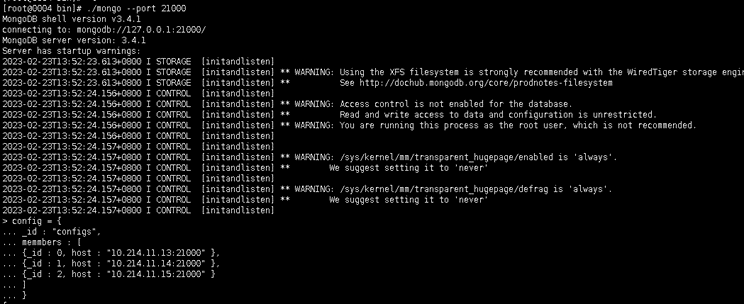
./mongo --port 21000
config = {
... _id : "configs",
... memmbers : [
... {_id : 0, host : "10.214.11.13:21000" },
... {_id : 1, host : "10.214.11.14:21000" },
... {_id : 2, host : "10.214.11.15:21000" }
... ]
... }
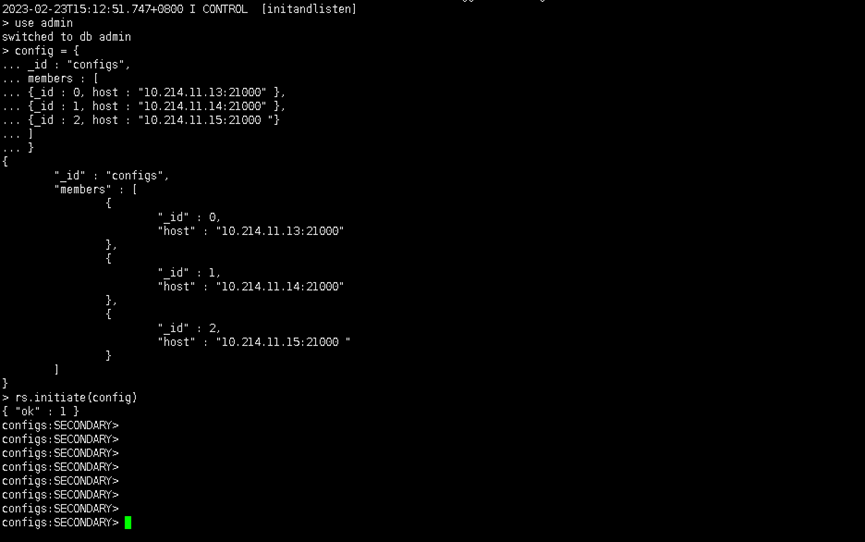
#初始化副本集
rs.initiate(config)
注意:
其中,”_id” : “configs”应与配置文件中配置的 replicaction.replSetName 一致,”members” 中的 “host” 为三个节点的 ip 和 port
6、 启动分片./mongod -f /home/mongodb/shard1/config.conf
配置设置第一个分片
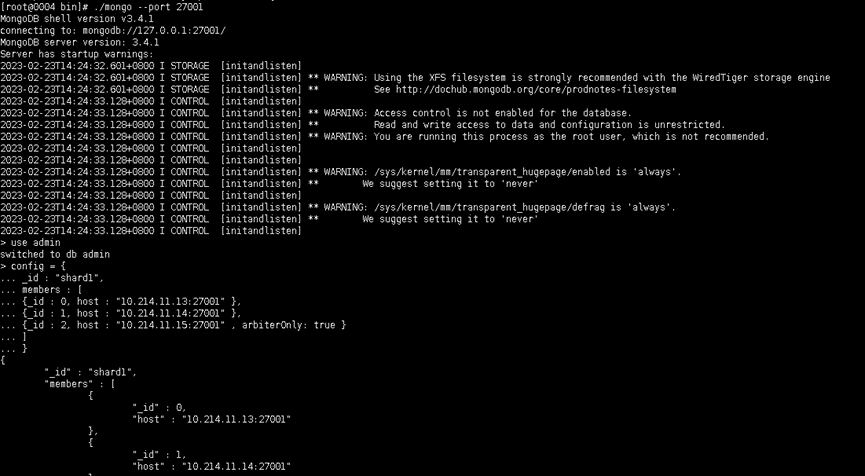
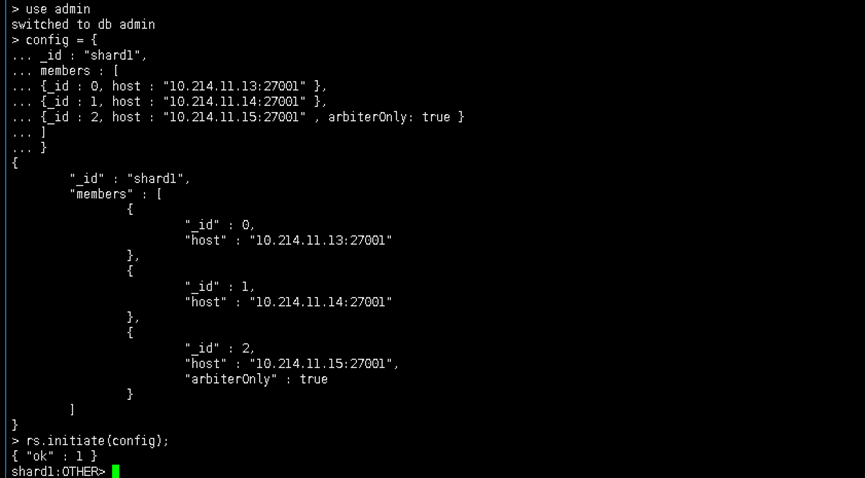
注意:{ _id : "shard1", members : [ {_id : 0, host : "10.214.11.13:27001" , artiberOnly: true}, {_id : 1, host : "10.214.11.14:27001" }, {_id : 2, host : "10.214.11.15:27001" } ] } artiberOnly: true代表仲裁节点
依次类推分别配置好三个分片、
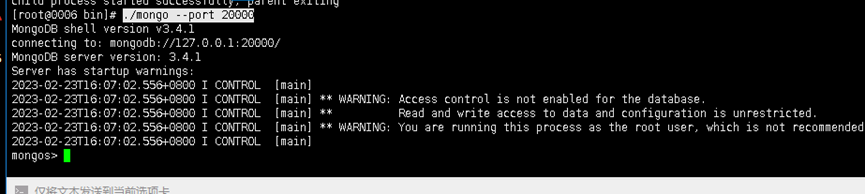
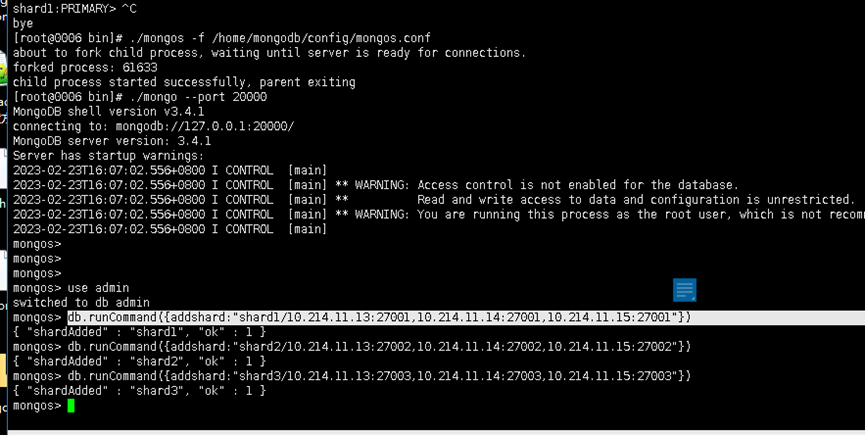
7、 启动三台服务器的mongos server
./mongos -f /home/mongodb/config/mongos.conf

登录其中一台mongos
./mongo --port 20000
串联路由器与副本集
db.runCommand({addshard:"shard1/10.214.11.13:27001,10.214.11.14:27001,10.214.11.15:27001"})
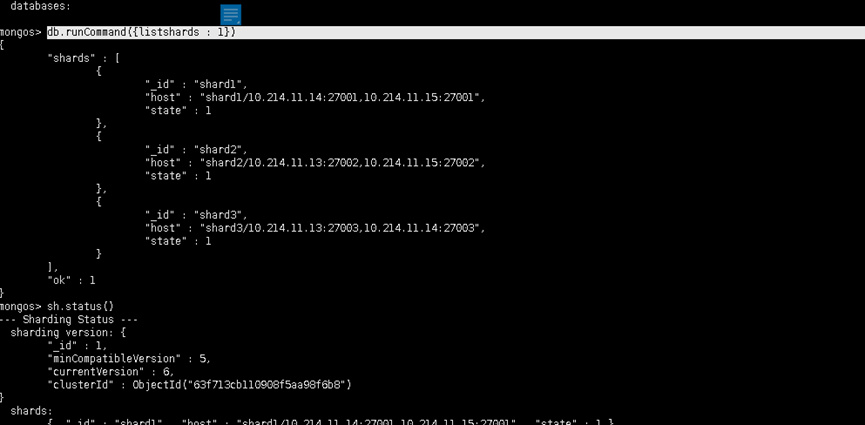
sh.status() 查看副本状态
sh.status()
db.runCommand({listshards : 1})
sh.enableSharding("blog")启用分片
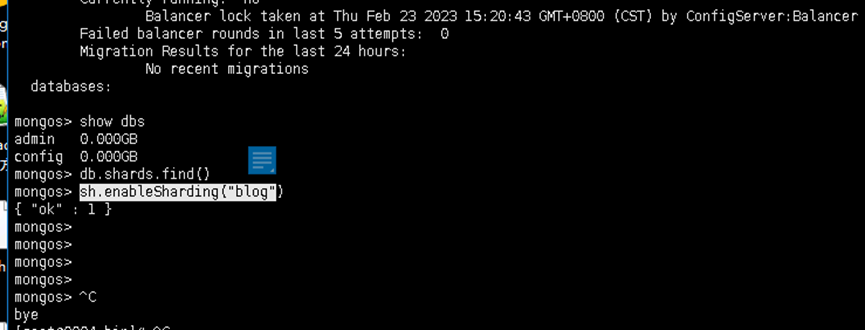
一主一从一仲裁的分片集群搭建完成


 0000
0000

 0001
0001

 0001
0001

 0000
0000

 0000
0000